I decided to participate in the Iron Painter on-line painting competition for the first time. To be honest, I never really paid much attention to it before. I forget why it attracted my attention this year, but I like the notion that it allows models from any manufacturer.
The competition also plays to some of my strengths, which are more logistical strengths than they are painting-talent strengths -- namely, 1) I have a large collection of miniatures and accessories on-hand from which to devise themes, and 2) I paint fairly fast.
These two advantages play into Iron Painter, since there are only two weeks to paint for each round of competition, and each round has a unique theme, which is announced at the beginning of the two weeks. There is practically no time to acquire any miniatures or materials for each round!
Iron Painter announced Round 1 on Friday, April 3rd, and the deadline is Monday, April 20th. They made a mistake, because the competition is supposed to start 2 Mondays before the deadline, so they gave us an extra weekend by mistake!
It turns out I could really use that extra weekend, because I'm taking on some actual sculpting, and it's taking more time than I planned. I've never attempted sculpting before, actually. I've only ever done gap-filling. The most advanced thing I've done is try to blend in fur texture. But to complete the story I want to tell for Round 1's theme, "Fool's Gold", I need to build scratch-build an element that I don't have handy.
My vignette is based on a fairly rare GW set of models, called "The Chase". A goblin is chasing a baby squig, I suppose to capture it for a squig herd, and the Momma Squig is chasing the goblin, ha, ha!
The goblin in the set wears a hat that looks like a jester's hat, so I have my Fool. But for my Gold, I wanted the baby squig to be running away with the Fool's scepter. Which is where sculpting comes in...
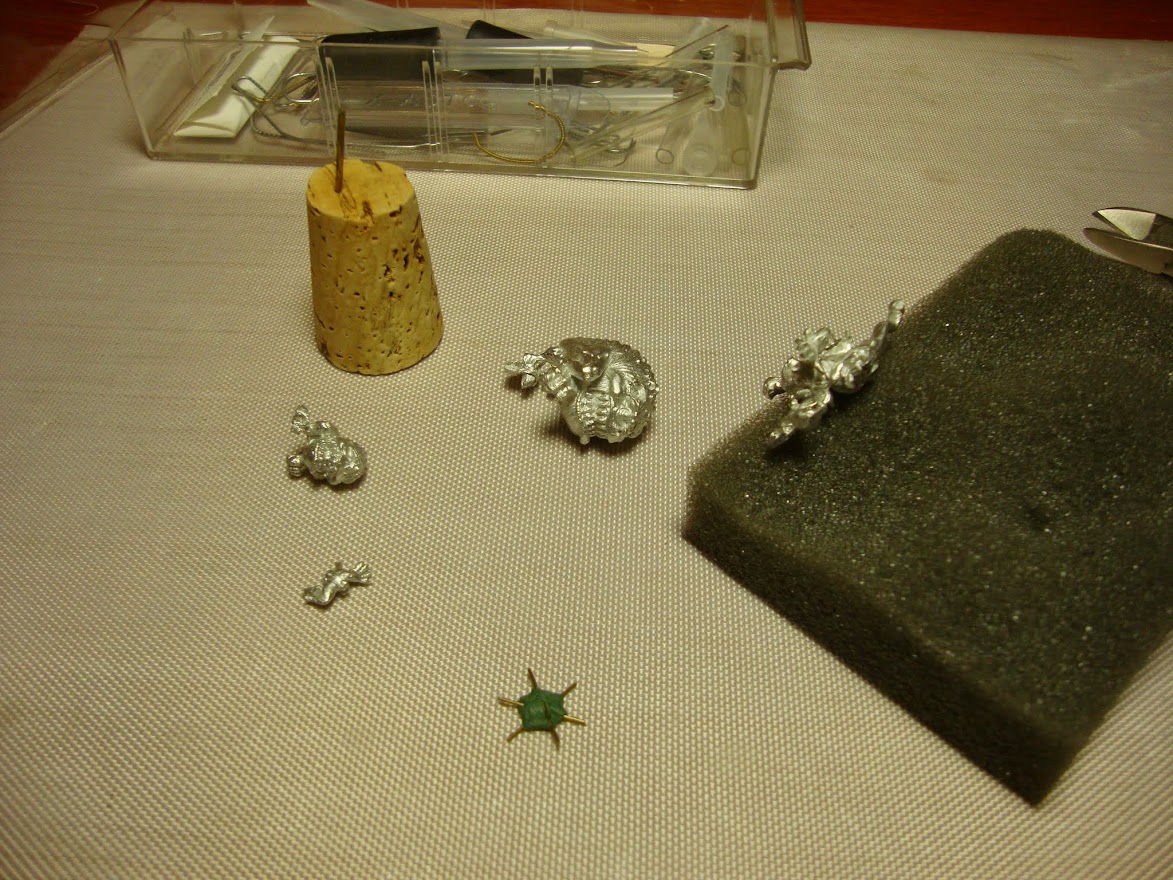
Here are the miniatures, with flash and mould lines removed, and there is my foundation-piece for a jester's motley collar. Three pieces of wire smushed together with green-stuff putty.
I'm pleased with how it started out.
Unfortunately....
When I tried bending the wires down, it all fell apart. Had to start over.
This time I bent the wires first. The center was a blobby mess, and I had to pick off the excess. The wires are not as symmetrical as the first attempt, and the ring connecting it to the rod is not as clean. I hope to make corrections, when I add later layers.
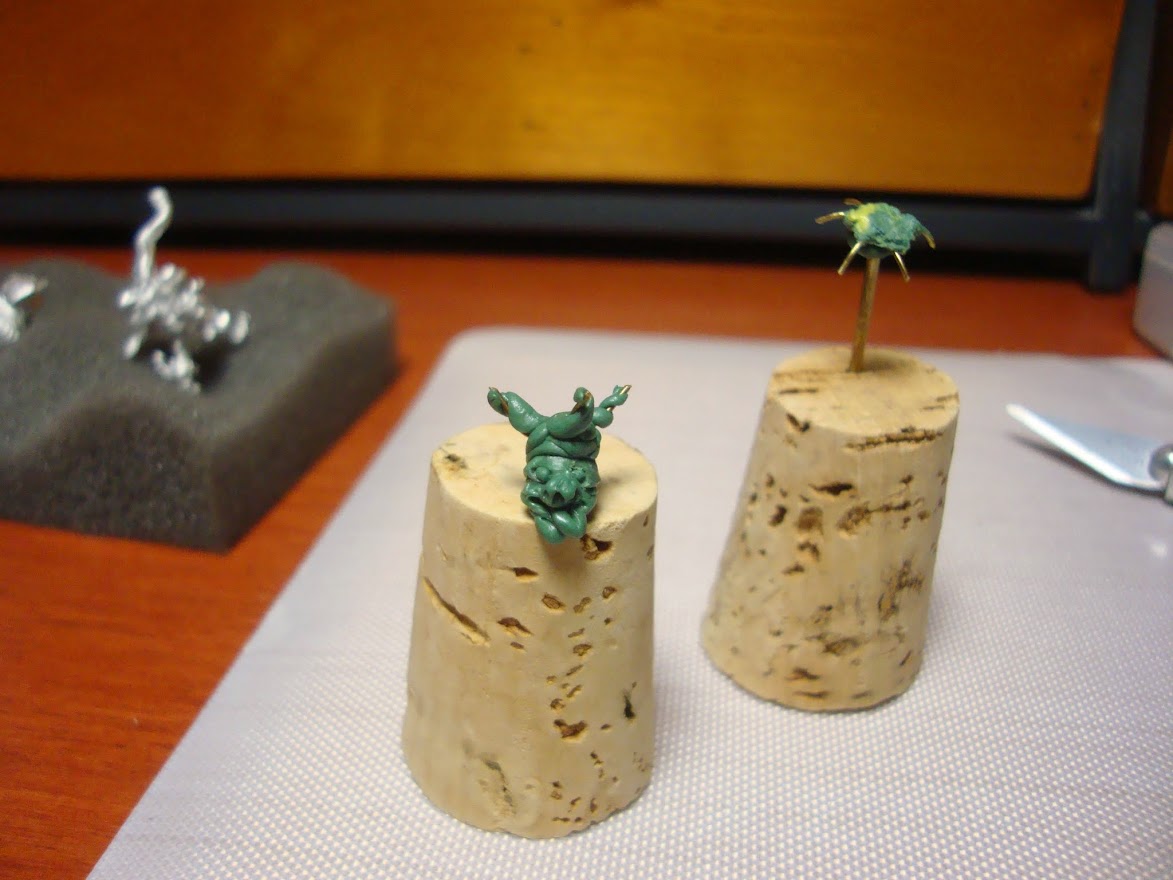
Here are my first two attempts to sculpt a head. They look awful right now, but that's because they're just initial forms, which need more refinement. Not to say that the final version won't look awful either!
I built the first head from the bottom-up, but it was coming out too large. 50% larger than the actual goblin miniature! I started over, building from the inside-out, instead of bottom-up, like I see every professional sculptor do. I don't know why I didn't just start out like that the first time, since I knew that's how they work.
Adding more elements. Yup, still looks horrible, but I have a plan....
I had to make a trip to several craft stores, before I found beads that I could use for the ends of the collar and the hat. By the way, this is as far as I've progressed in two weekends. So much for my speed. Wait, I said I could paint fast. Something tells me I'm going to be painting all next weekend...
Here's an example of refining a yukky mess into something smoother and closer to final form. I hope I can achieve the same for the head!


No comments:
Post a Comment
Note: Only a member of this blog may post a comment.